How to Set Up DNS for Website Translation on MultiLipi
Setting up DNS is a critical part of enabling your translated subdomains through MultiLipi. This process ensures your translated content is correctly routed and indexed by search engines. Follow this step-by-step guide to configure your DNS seamlessly.
Step-by-Step Instructions to Set Up DNS in MultiLipi
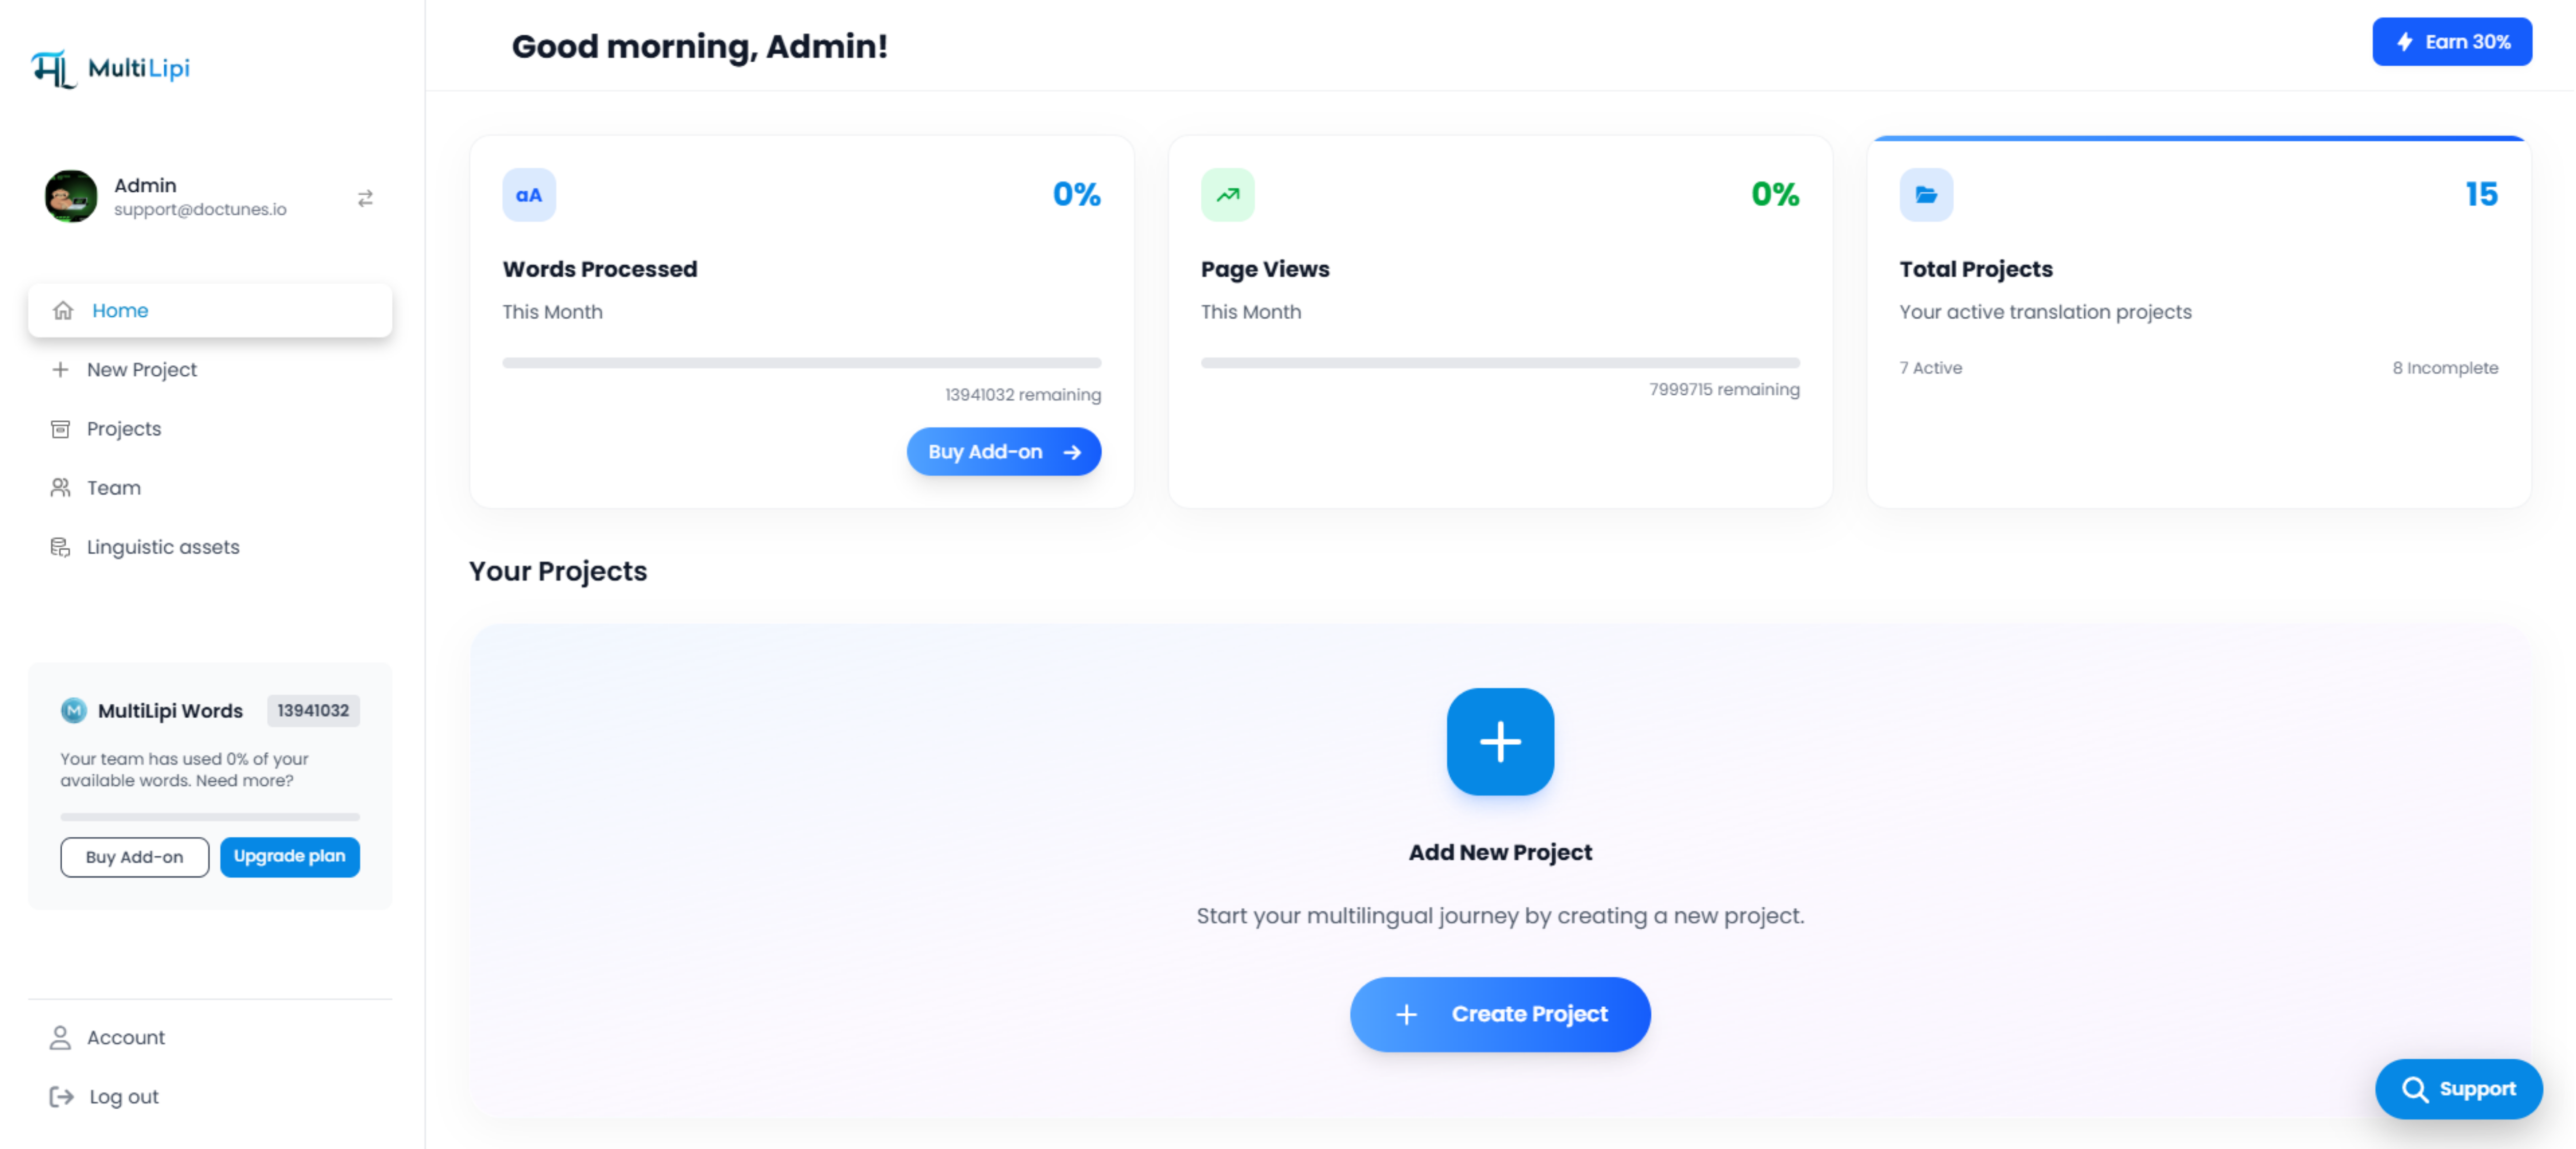
1. Open Your MultiLipi Dashboard
Log into your MultiLipi account at dashboard.multilipi.com. From the left menu, click on “New Project” under Monikielinen SEO .
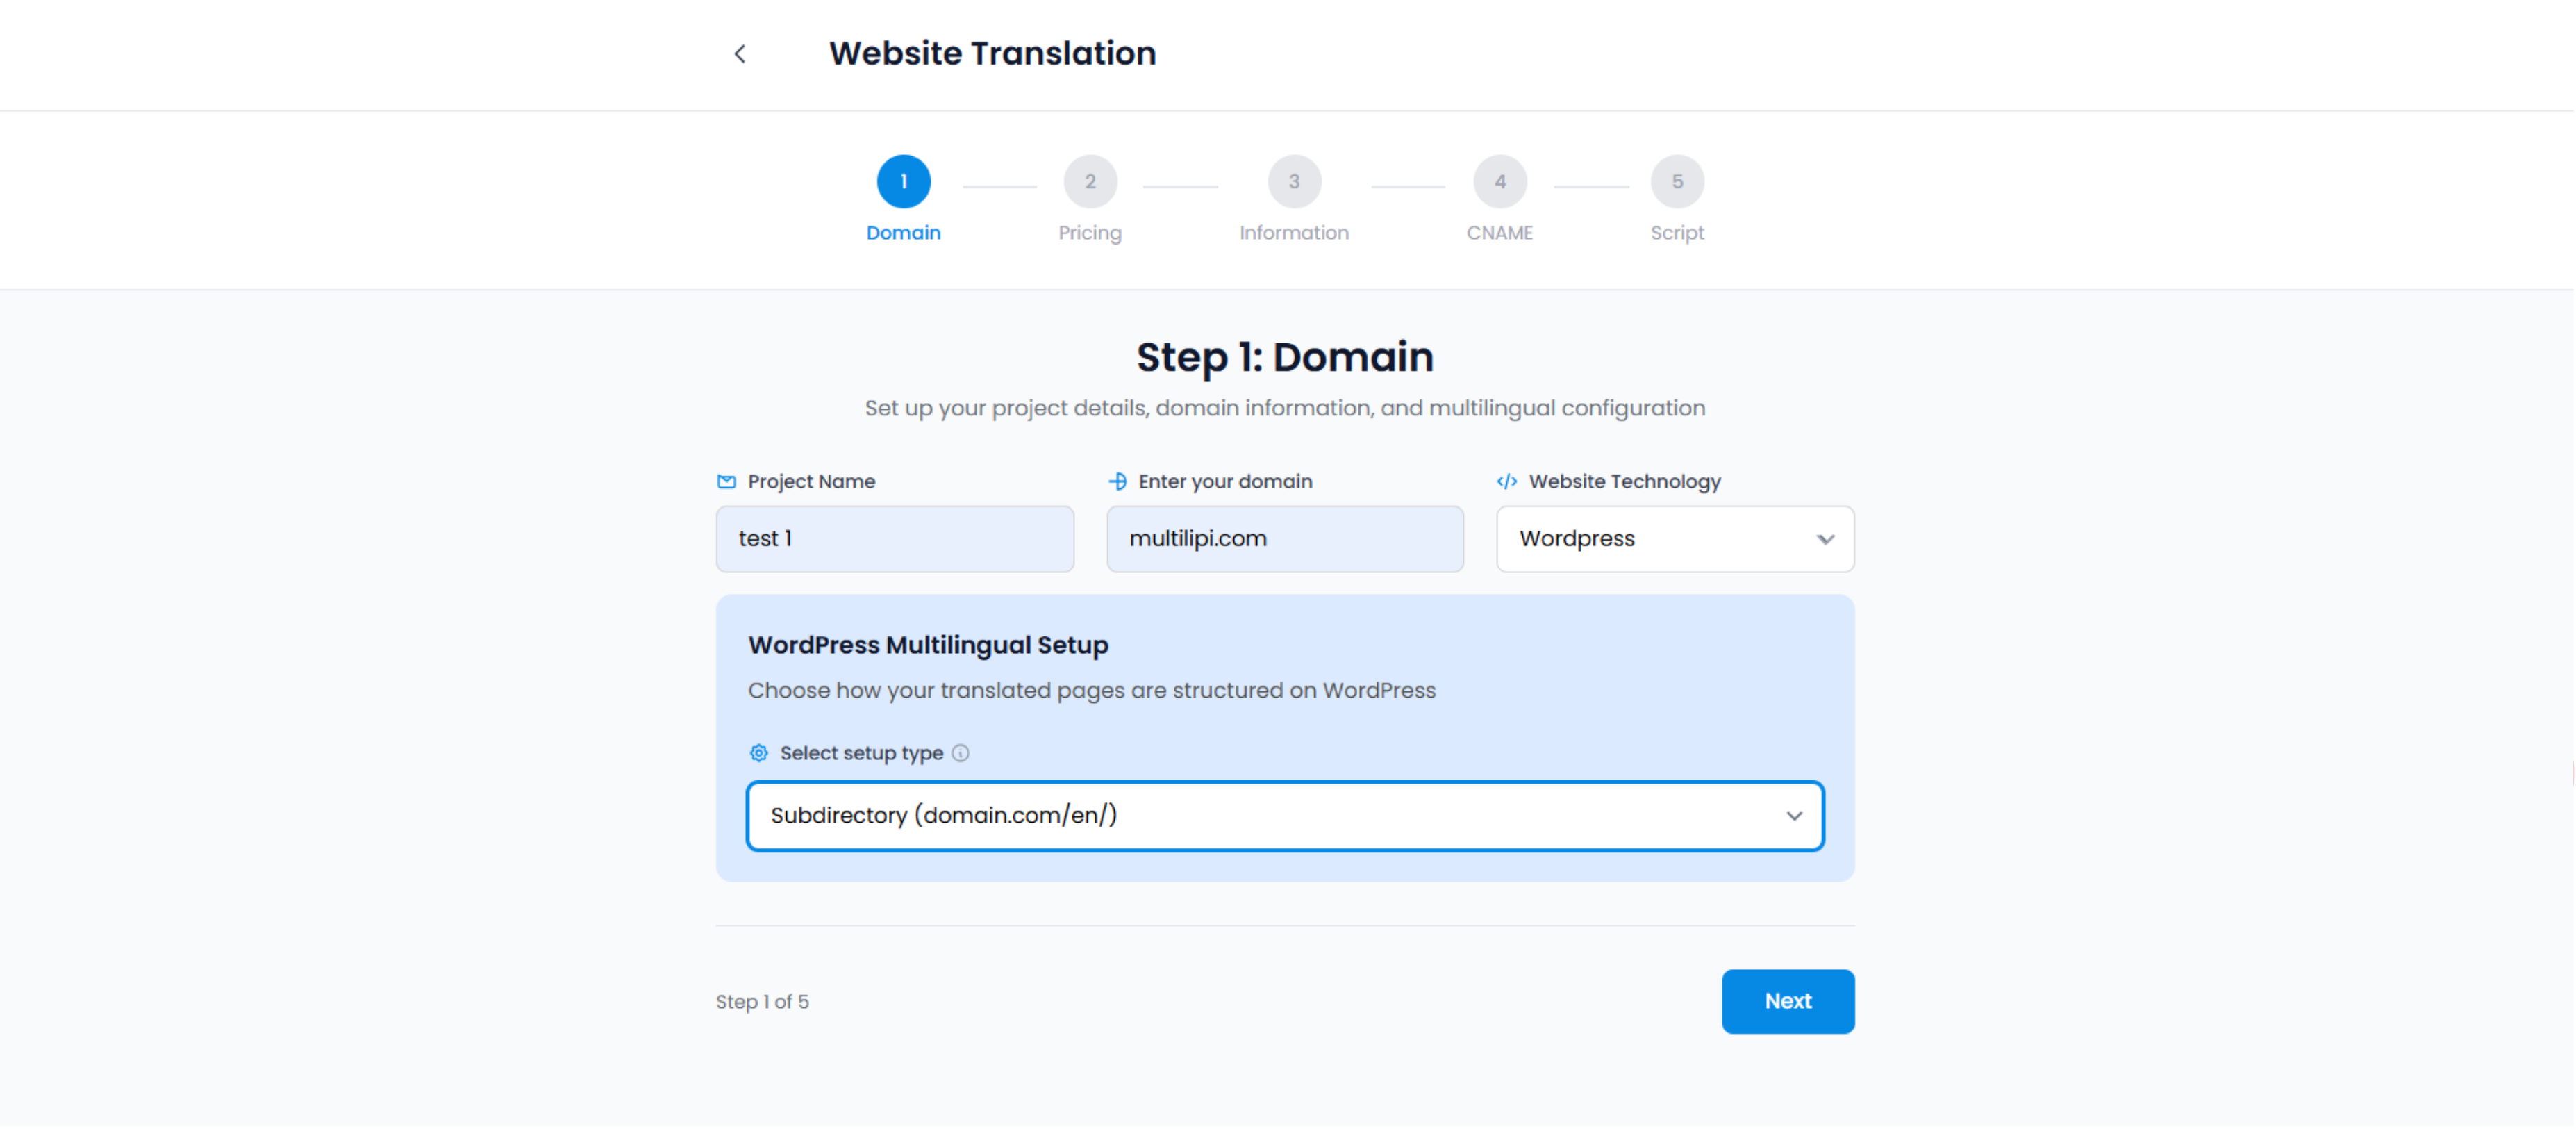
2. Enter Your Website Details
- Project Name: Give your project a meaningful name (e.g., “My Ecom Store”).
- Domain: Input your website domain (e.g., example.com).
- Website Technology: Select your platform (e.g., Webflow, WordPress, etc.).
3. Select a Plan
Choose your preferred translation plan based on your monthly page views and feature needs. Free trial or premium – select what suits your project best.
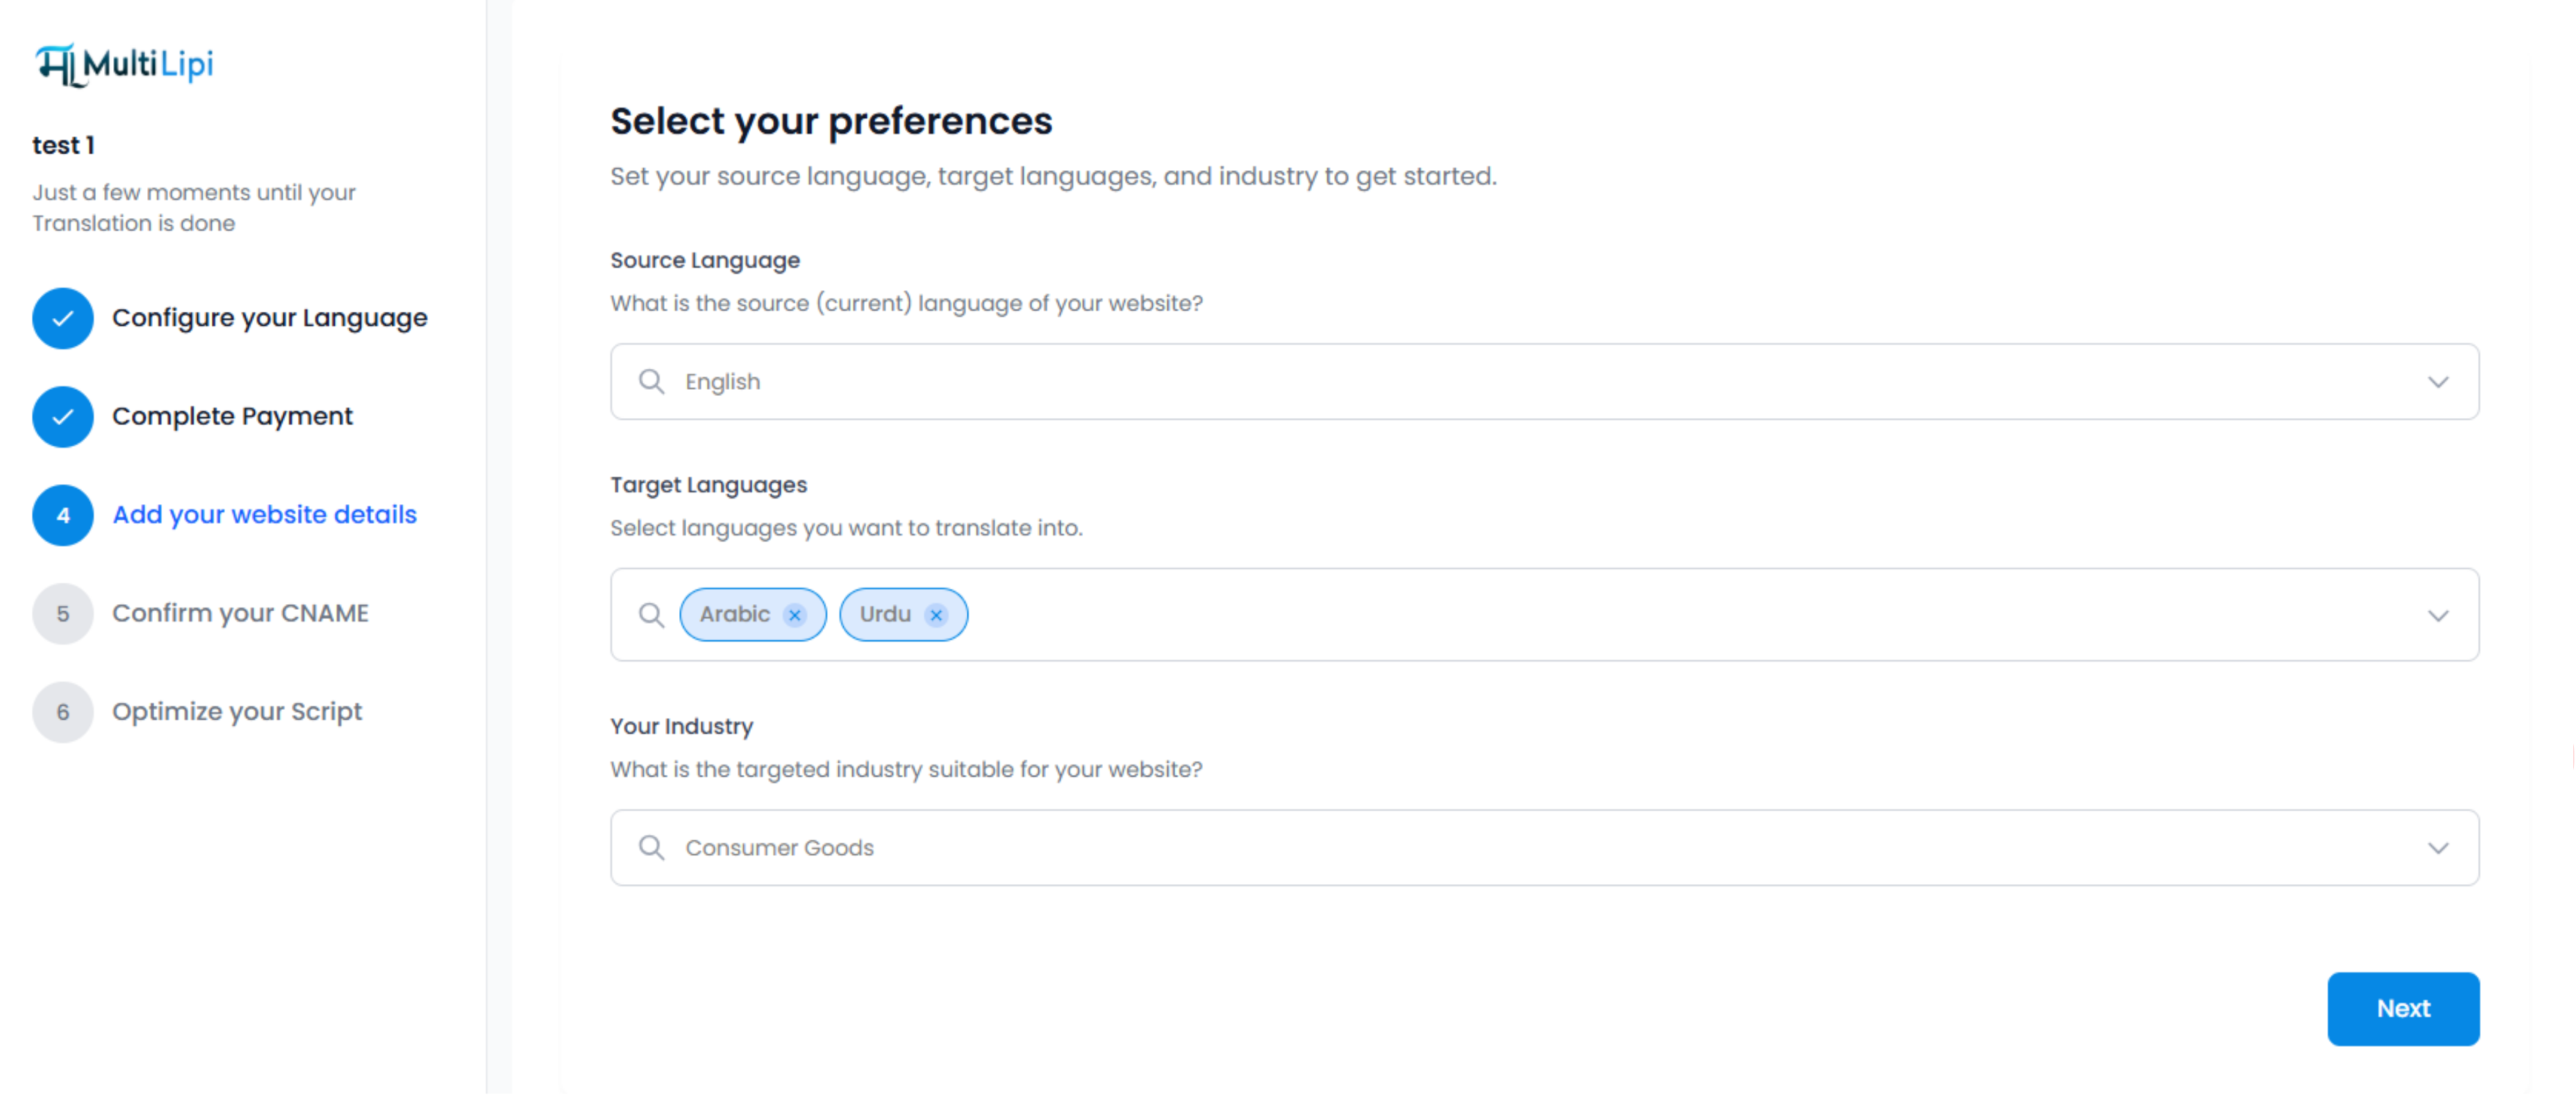
4. Choose Source and Target Languages
Define your:
- Source language (e.g., English)
- Target languages (e.g., French, Spanish)
- Industry type (e.g., eCommerce, SaaS)
This helps in optimizing language-specific SEO automatically.
5. Watch DNS Setup Instructions
Once you've configured the basics, MultiLipi will show you a short DNS Setup Video explaining how to:
https://www.youtube.com/watch?v=wUDjVts928Y
- Add CNAME records to your DNS provider (GoDaddy, Cloudflare, etc.)
Point language subdomains (e.g., fr.example.com, de.example.com) to MultiLipi
💡 You’ll be given the exact CNAME values and endpoints to copy-paste into your DNS dashboard.
6. Setup Completed 🎉
After completing the above steps:
- Your translated subdomains will go live.
- MultiLipi will automatically handle routing and indexing using hreflang and multilingual SEO best practices.
You can now preview your localized
Kommentit